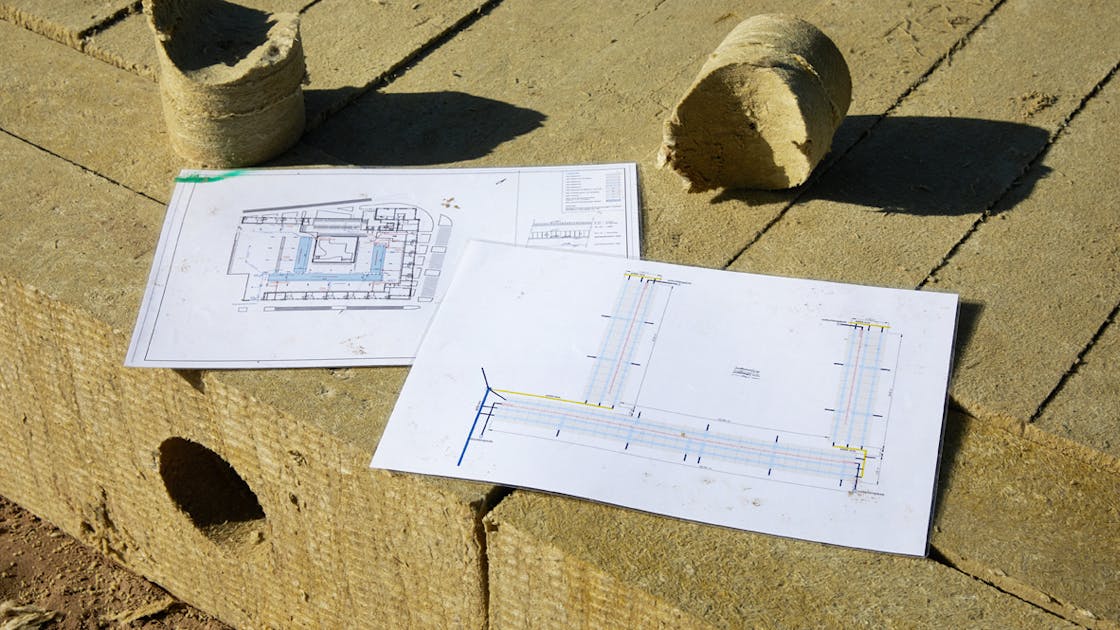
The technical aspects are of great importance for the successful implementation of Rockflow. We are happy to help you identify or calculate the right technical aspects so that you can draw up a suitable Rockflow design.

We offer a number of general guidelines and (detailed) drawings for creating a Rockflow design. The step-by-step plan on this page provides you with a step-by-step overview of the necessary data and downloads. If you have any questions, you can contact the Rockflow specialists directly via the red button.

Need some help?

Our Rockflow specialists are happy to assist with the Rockflow implementation and solutions for your project.

Step 1: Infiltration possibility

Whether you can make a start with Rockflow yourself depends on the possibility of infiltration in your design:

  1. Is infiltration impossible, only possible to a small degree, or do you not want to infiltrate? Please contact our Rockflow specialists for a tailor-made solution
  2. Is infiltration possible? Please proceed to the information below to create your Rockflow design step by step

Step 2: Basic principles of the Rockflow buffer

Determine the correct height, installation depth and type of Rockflow for your design using the following four steps.

Rockflow is always installed underground. The height of the element thereby depends on the minimum installation depth and the groundwater level at the specific location.

You can calculate the height as follows:

Rockflow height = distance from ground level to average highest ground water level [GHG] - minimum installation depth based on maximum permissible load (for example, traffic load)

If this results in a height of less than 0.5 m, please contact the Rockflow team. Drawings are available on the right-hand side for dimensions equal to or greater than 0.5 m.

Based on the calculated height, you can download the drawings as PDFs here. DWG and DXF files for the elements can be downloaded at the bottom of this page after 'step 4'.

20202611 RW-LF ILLUS 46

The emptying time must also be taken into account when designing a Rockflow installation. A 24-hour emptying time is a common guideline here. It is necessary to know the k-value (infiltration rate of the soil) in order to determine whether the infiltration Rockflow package has enough time to cope with a subsequent rain shower.

The k-value must be at least equal to the height of the Rockflow element. Is the k-value lower than 0.5? Please contact our Rockflow specialists. An additional discharge device can often be added in the form of an infiltration pole or delayed drainage. In some cases, it is also possible to choose Rockflow elements with a lower height. We are happy to help you with this.

In order to be able to infiltrate with a Rockflow buffer, the bottom of the buffer must be installed above the groundwater table. If desired, also above the highest average groundwater table.

The highest average groundwater table should preferably be measured on site. Is this not possible? Then request the readings from the relevant municipality.

A minimum installation depth is required, depending on the load. This table sets out the minimum installation depth based on axle load and Rockflow type.
Please note that the axle loads in this table apply in the implementation phase/construction phase. The axle loads for the use phase can be consulted via the Rockflow Product Data Sheet.

[1]: In accordance with Standard RAW provision 2015 art. 80.16.05) delivery, application and compaction.
[2]: Construction of foundation package minimum 0.30m mixing granulate 0 / 31.5 (NEN-EN 13242 (2015) + possibly sand in sandbed (Standard RAW 2015 provision 2015 art.22.06.03)
[3]: Axle load based on rear axle with double tires (NEN-EN 1991-2 par. 4.3.2), Wheel print 0.4m * 0.4m.

Coverage on Rockflow in the implementation phase (construction phase) Maximum axle loads that are permissible during implementation on the compacted [1] foundation package [2]
WM2005 WM2007
Axle loads[3] Single wheel load Axle loads[3] Single wheel load
25 - 45 cm < 3 tons < 0.8 tons < 6 tons < 1.5 tons
45 - 65 cm < 6 tons < 1.5 tons < 10 tons < 2.5 tons
> 65 cm < 10 tons < 2.5 tons < 15 tons < 3.7 tons


Step 3: Volume of the buffer

The total volume of the buffer depends on the amount of water to be collected. Rockflow has a free volume of 93-95%, which is available for the storage of rainwater (93% = WM2007, 95% = WM2005).

If the amount of water to be buffered is not specified, you can contact the Rockflow specialists.

Step 4: Get started!

You can start designing the Rockflow buffer using the data from steps 1 to 3. The button below guides you to the download section with the drawings in .dwg, .dxf and .pdf files. These documents will help you further with the design of the right Rockflow buffer for your project. Good luck!

Download technical drawings

Other question? Contact us or consult the FAQ: